Workshop
Workshop
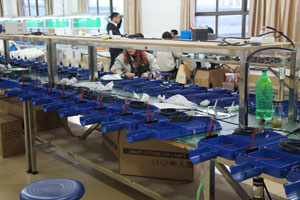
Solar panel workshop
-
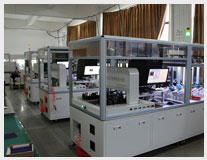
1.Solar cell sorting, the purchase of solar cells back through the first sorting device for sorting, according to power, color, performance classification, the defective solar cells returned to the supplier,we have 5 fully automatic solar cell separator
-
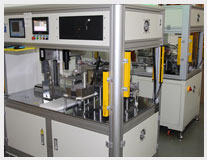
2.The selected solar cells according to the specifications of the order of the number of watts to cut, our company has two fully automatic solar cell cutting machine and six semi-automatic cutting machine
-

3.The cutting of solar cells for the second artificial sorting, the cutting process to pick out the rupture, and according to the solar cell color difference sorting
-

4.The sort of good solar cells for single welding and string welding, our company has four fully automatic single-welding machine
-
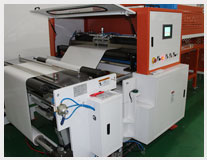
5.EVA panel, the back panel according to the size of the panel to cut
-
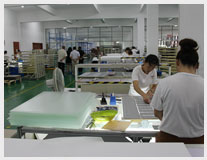
6.The string welding of solar cells for welding, the company has 10 sets of welding Taiwan
-
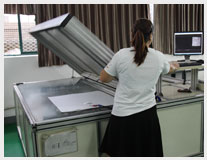
7.Welded good solar panels for the second EL test to detect whether the battery chip is hidden, collapse, invalid film, etc
-
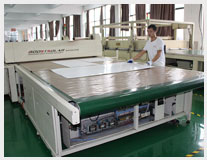
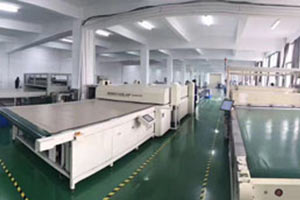
8.After testing the unproblematic solar panel, the vacuum layer is pressed into the laminating machine,we currently have three automatic laminating machine, the daily output of 2000
-

9.Cut off the corners of the laminated solar panels
-

10. All sides of the solar panel with aluminum alloy frame
-

11.In the back of the solar cell welding positive and negative junction box, red on behalf of the cathode, black on behalf of the negative
-

12.Clean the surface of the solar panel
-
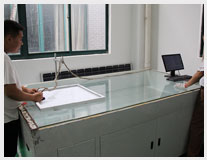
13.Perform a third solar panel performance test,check the panel's wattage, current, voltage is normal
-

14.The solar panels will be packed in cartons, 90W the following is a package of more than 90 t is a package of two, if the sample orders will be used in wooden box packaging
-
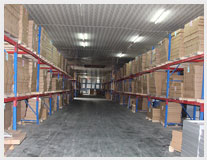
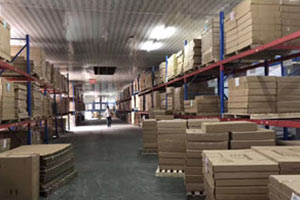
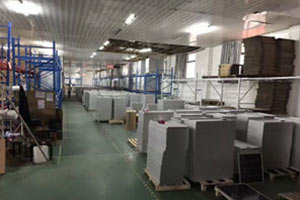
15.Solar panels in accordance with the order number shelves
-
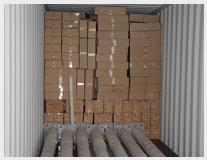
16.Solar panels for loading and unloading
Lithium battery workshop
-
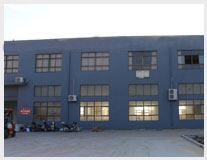
0.Lithium battery production workshop
-

1.Insulate the batteries with highland barley paper
-
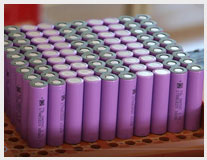
2.Arrange the batteries every two groups according to positive and
-

3.Put nickel belt in the bottom
-

4.Use the automatic spot welding machine to connect the batteries in parallels and series
-

5.Finished battery pack
-
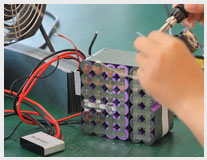
6.Wrap the battery pack with highland barley paper and weld the protective plate
-
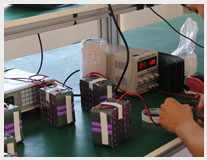
7.Current and voltage test
-
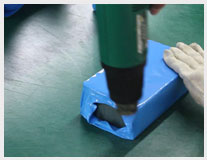
8.Do waterproofing treatment with waterproof tape
-

9. Assemble the shell
-

10.Place the battery pack in the housing
-
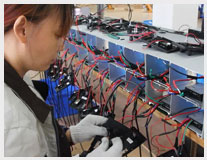
11.Install the housing front: switch, monitor
-
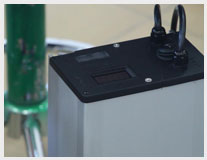
12.Finished product display
-

13.Paste the label
-

14.Finished product testing
-

15Charge and discharge aging tester
Lamp post workshop
-
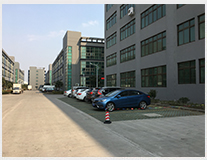
0.Seming light pole production base, a total of 30 acres of land, with light pole production line 3 jump, the annual output value of 300,000 sets
-
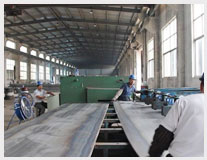
1.Cut the plate in accordance with the upper and lower caliber of the poles
-
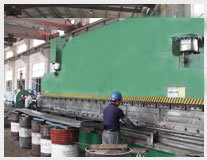
2.The cutting of the plate to suppress the coil
-

3.Welding the weld of the poles
-

4.Correct the deformation of the poles during the winding process to prevent the displacement of the light pole
-
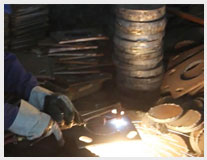
5.Light bar at the bottom of the flange production
-

6.The flange is welded to the lower diameter of the poles
-

7.Poles above the door for welding and production, the door can also be used since the door without welding
-
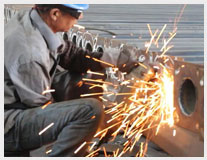
8.The polished parts of the poles are polished
-
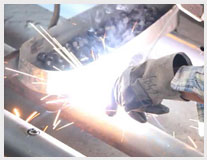
9. The arm fixing screw is welded to the main pole
-

10.According to the size of the solar panel mounted solar panel size
-

11.According to customer requirements or drawings for street lamp arm welding
-
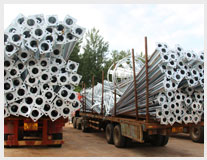
12.The entire poles are welded to the galvanizing plant for hot dip galvanizing
-
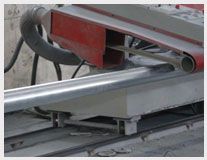
13.The galvanized poles are polished to remove the daisy
-

14.After the polished poles for the second correction, because the high temperature galvanized easy to deformation of the poles
-

15.Grind the galvanized arm bracket
-

16.According to the requirements of the customer's polished color spray powder, you can not spray directly after the polished poles for passivation
-
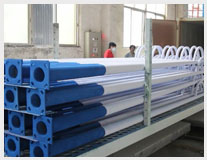
17.Put the polished powder into the oven
-

18.The roasted poles for packaging, packaging can be based on customer requirements, conventional we use blankets
-
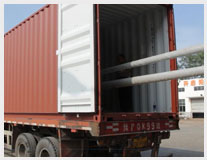
19.Packed light poles shipped


