The Ultimate Guide to Using a Selfie Ring Light: Enhance Your Photos and Videos
The Ultimate Guide to Using a Selfie Ring Light: Enhance
Your Photos and Videos
Selfie ring lights have become an essential
tool for those who want to take high-quality photos and videos. From creating
well-lit selfies to creating professional-looking social media content. A
selfie ring light can make all the difference in taking the perfect photo. The
ultimate guide on how to use your selfie ring light in different situations...
By giving advice which It will help you get the best results possible.
Introduction
The selfie ring light can transform your
photos and videos. Add balanced light Reduce harsh shadows and helps your
content look professional. Whether you're filming in a dimly lit room or
outside on a sunny day, Ring lights can greatly improve image quality. This
guide provides tips for setting up your ring light for different situations.
From indoor and outdoor photography to live video creative effects.
1. Using the selfie ring light for indoor photography
Ring lights are especially useful when
shooting indoors to provide additional light to enhance your photos and videos.
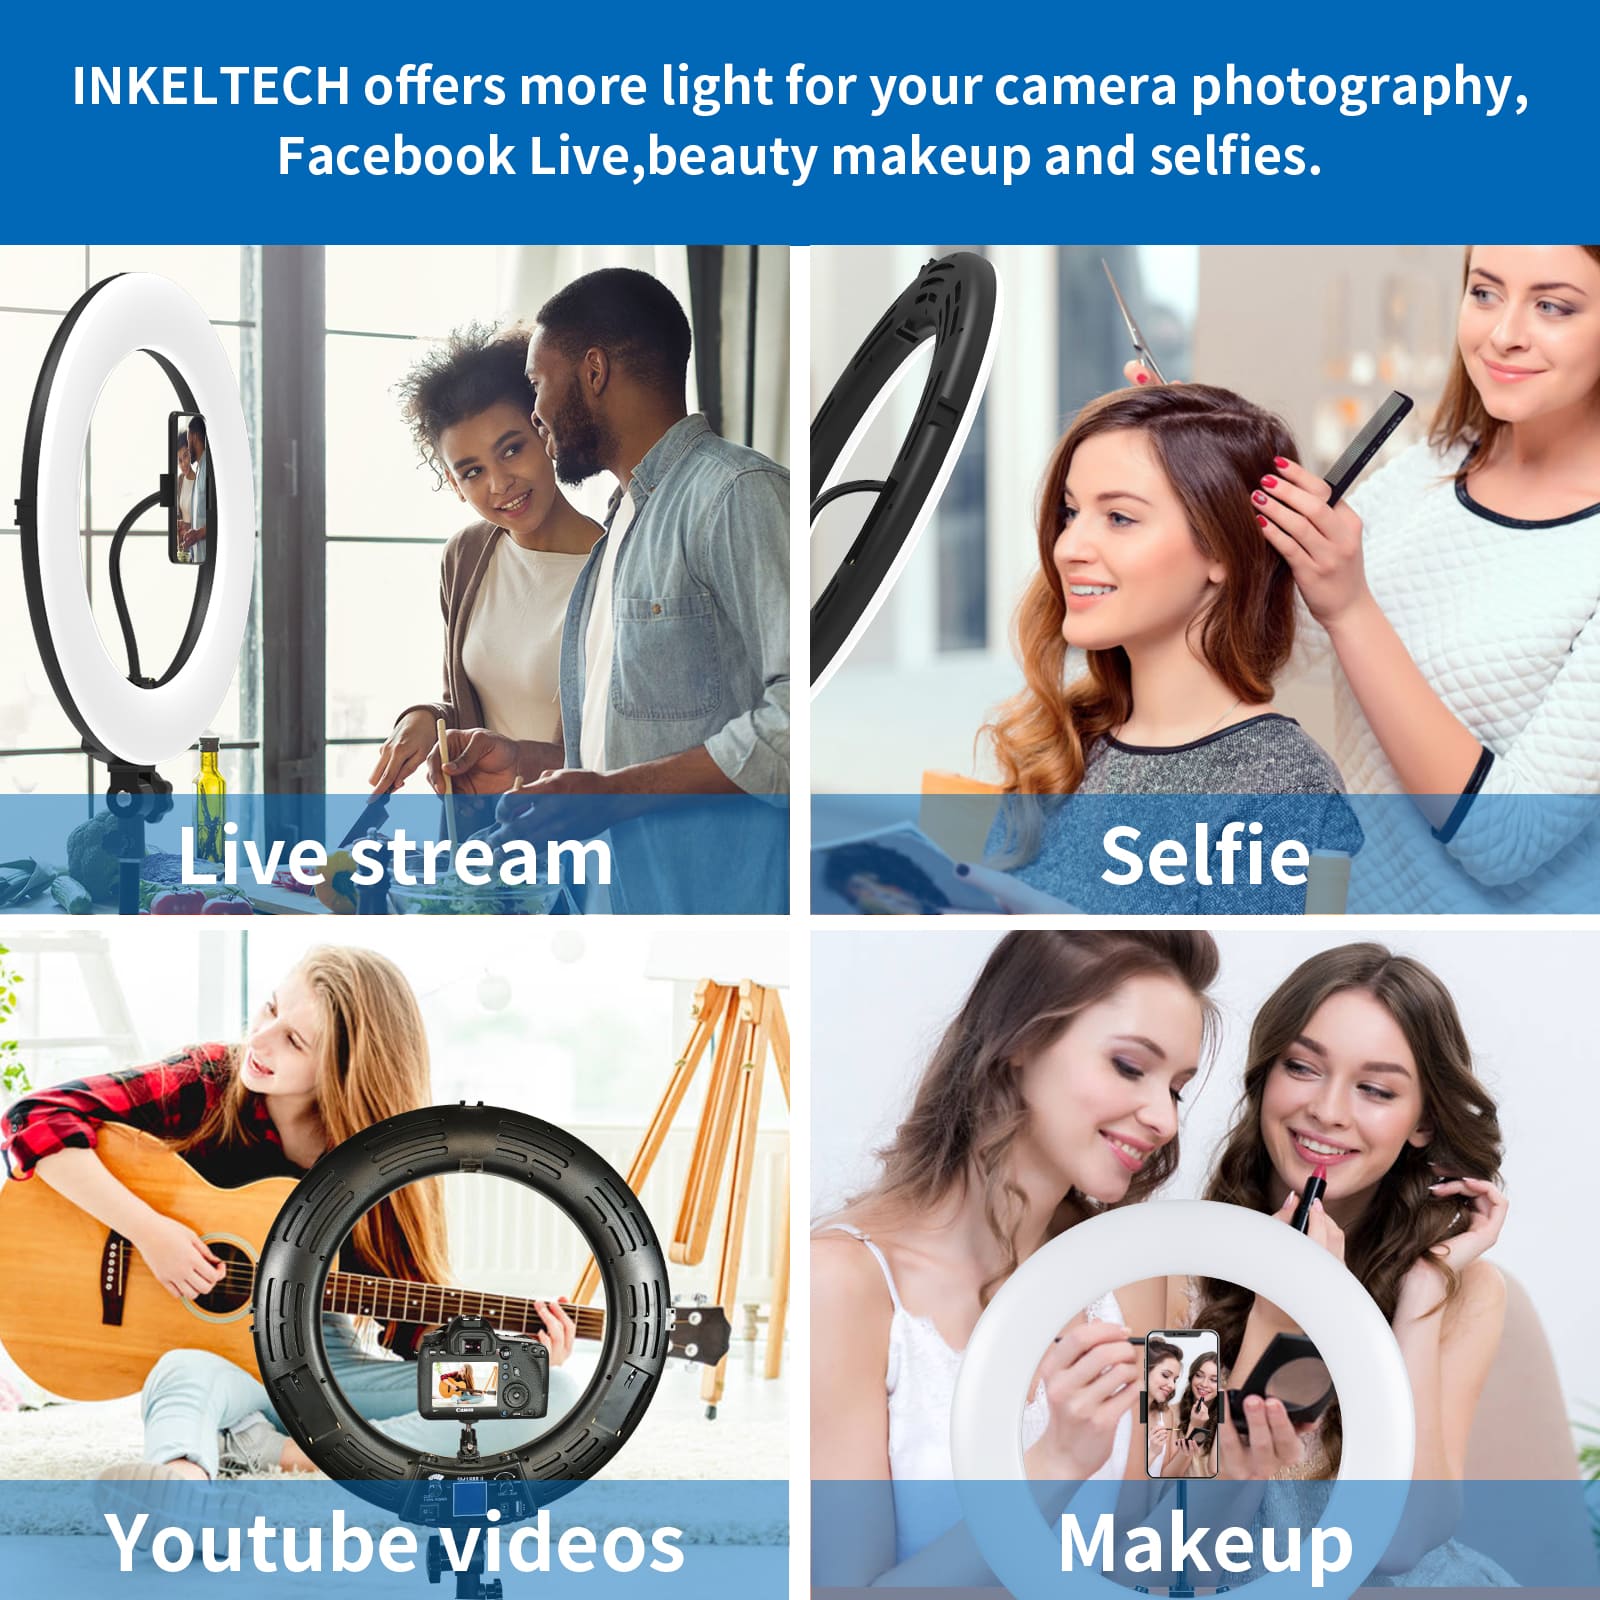
Tips for internal use:
• Install a ring light: for optimal illumination. Place the ring light about an arm's length
away from your face. Make sure it is slightly above eye level and tilted down
for a flattering look.
• Adjustable brightness and color
temperature: Most ring lights have adjustable
brightness and color temperature settings. For indoor photography warmer
temperatures (3000K-4500K) can create natural light. Meanwhile, higher
brightness can help overcome dim lighting indoors.
• Avoid overexposure: Start with a medium level of exposure so that parts of the image
are blurred. Yours looks faded Adjust as necessary to maintain clear natural
light.
Best use:
Indoor selfies Lifestyle accessories And
detailed shots of makeup or accessories will look great indoors with the help
of ring lights. This setting ensures that your subject is well exposed and that
all details are visible.
2. Take your outdoor selfies to the next level with a ring
light.
Although natural light is suitable for
outdoor photography, But ring lights can add an extra level of brightness to
your images. Helps balance light and reduce harsh shadows.
Tips for outdoor use:
• Set up in a shaded area: avoid direct sunlight. This can compete with the ring light and
create an overexposed image. Place in a shaded area or at a time of low light,
such as early morning or late afternoon.
• Low brightness setting: This is because natural light has already added brightness. Use the
ring light at a low setting to create a balanced, even image. This avoids
overexposed photos and enhances natural tones.
• Color temperature for outdoor
photography: Cooler temperature. (4500K-5500K)
works well in outdoor photography. This is especially true in shaded areas or
on cloudy days. to add a touch of light without obscuring the natural
environment
Best use:
Outdoor selfies, group photos, and vlogs
benefit from illumination with indoor ring lights. This technique brings out
the natural color and tone of the skin while balancing the available light.
3. Optimizing Ring Light for Social Media Videos
If you are a content creator who makes
videos for social media. A ring light can be your best friend for adding
clarity and polish to your recordings.
Tips for video content:
• Experiment with different angles: Position the ring light in front of you for a symmetrical, well-lit
image. Or tilt the light slightly to one side for a softer effect.
• Adjust lighting for close-ups: High lighting can help focus on the details of your makeup. skin
care routine or tutorial For long-distance videos, such as vlogs, medium
lighting is enough to balance the background.
• Setting consistent light: Once you've found the right light and color temperature, Stick to
that setting throughout the video to maintain consistency. This emphasizes each
frame equally, creating a cohesive final product.
Best use:
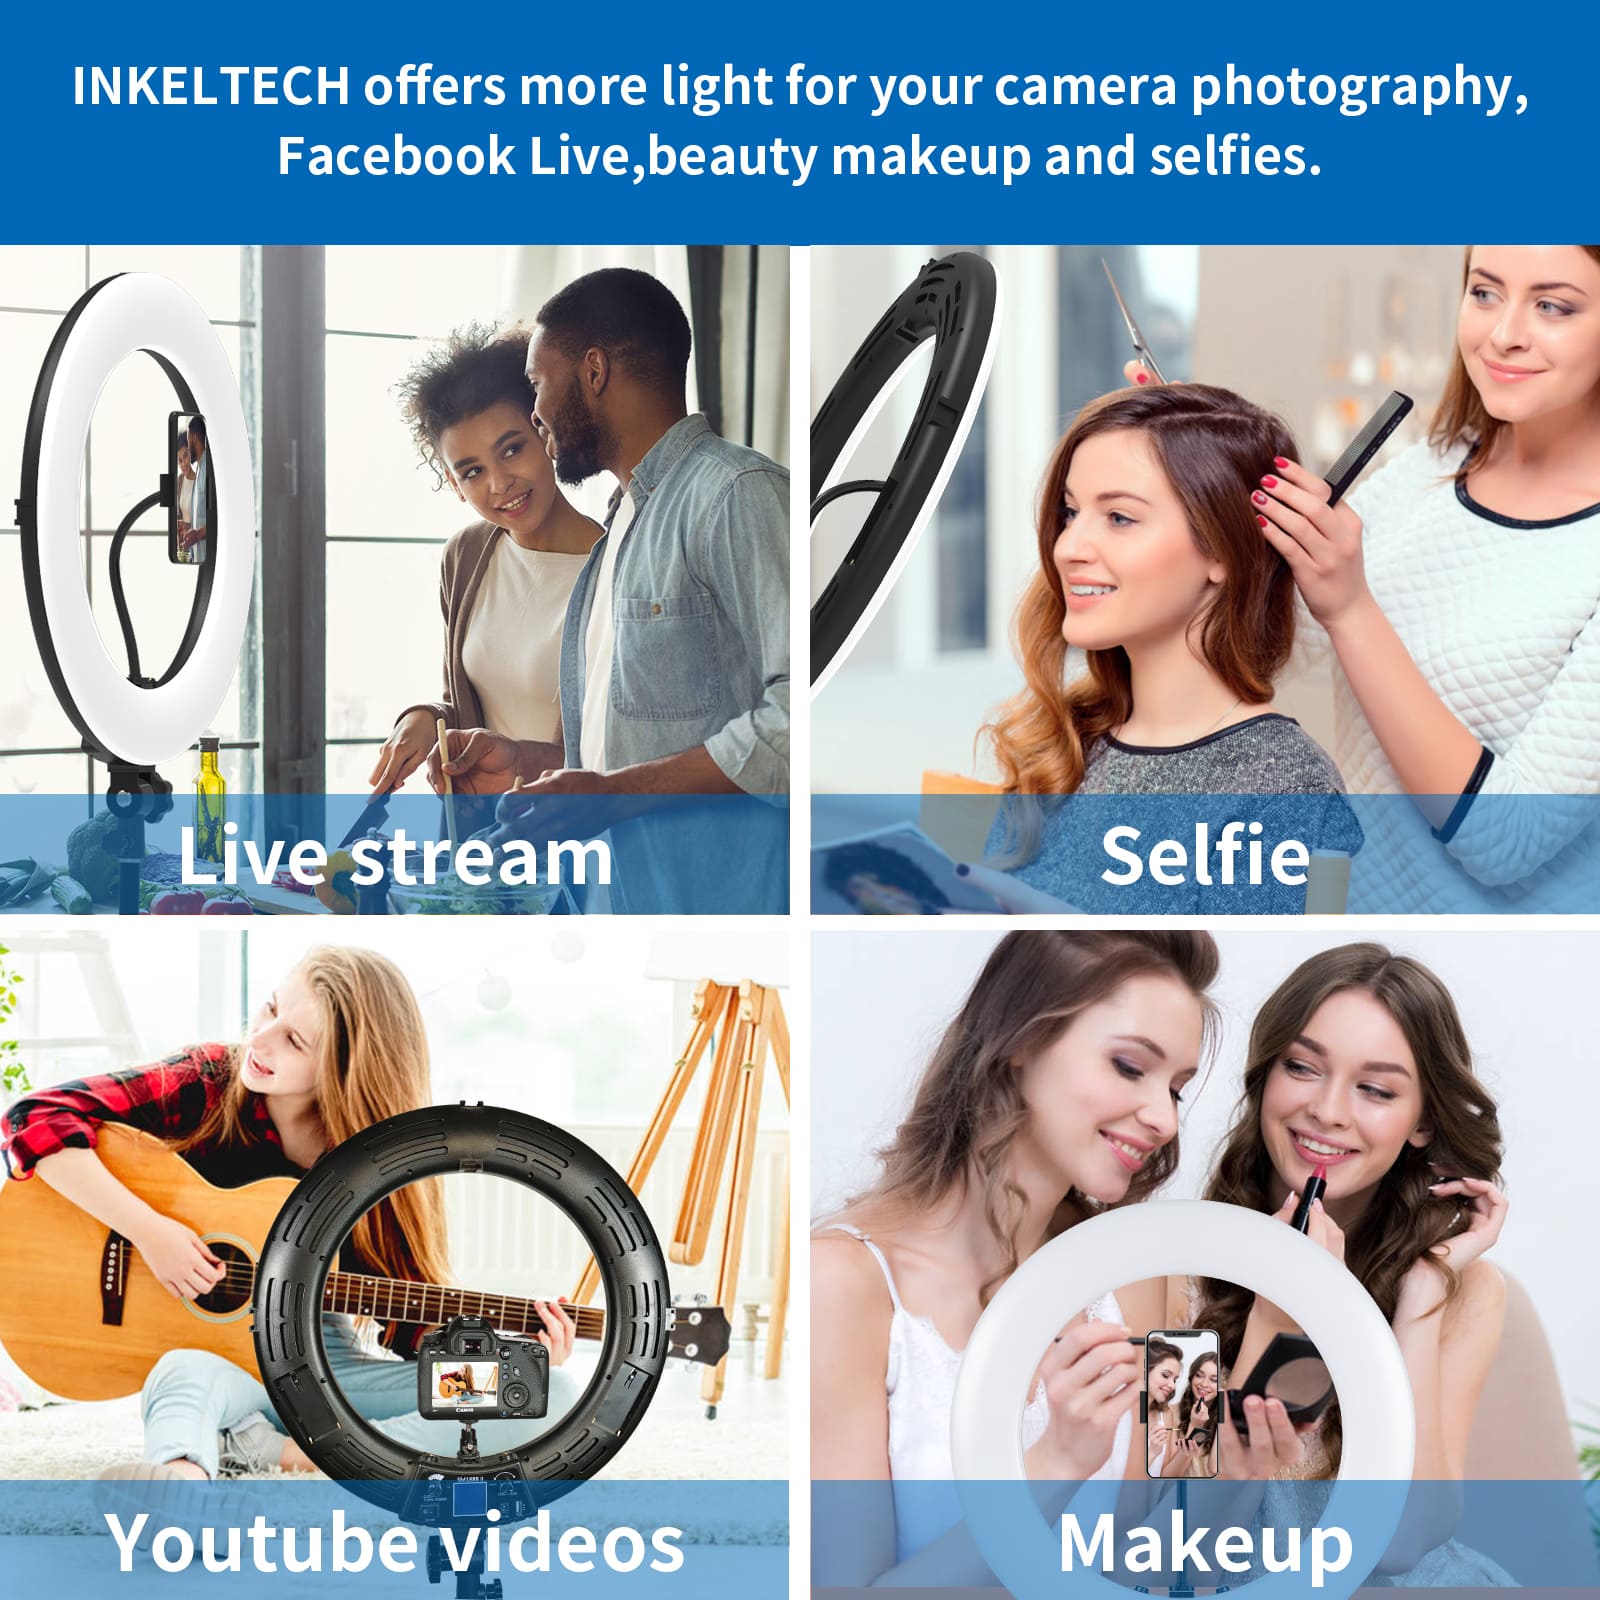
Makeup lessons, live streams, and product
reviews can all benefit from using ring lights for even lighting. By increasing
clarity and reducing distractions Your audience can focus on the content.
4. Ring lights create different beauty effects.
Ring lights offer endless creative
possibilities. It helps you get unique lighting and mood effects for your
photos and videos.
Best use:
• Artistic selfies, experimental photos,
and themed social media posts work well with these creative lighting effects.
Ideal for standing out on social media and adding a unique style to your
content.
5. Tips for taking perfect selfies and portraits
Using a ring light for selfies is a great
way to take professional-looking photos even without advanced equipment.
Tips for taking better selfies and photos:
• Find your best angle: Position the ring light slightly above eye level and angled down.
This will reduce shadows and emphasize different areas. yours to look beautiful
• Use Portrait mode on your camera: Combining Portrait mode with a ring light can create a soft, blurred
background. This allows you to focus fully on your face or object.
• Use gestures: Turn your head slightly or angle your face as flatteringly as
possible. With even light from the ring light, you will notice details that add
dimension to your images.
Best use:
Selfies, profile photos, and close-ups can
all benefit from using a ring light. Because it makes you look beautiful, it
also adds light and emphasizes facial features. The soft lighting effect
reduces imperfections. Make each shot look more beautiful.
Conclusion
Using a selfie ring light effectively
requires knowing how to adjust brightness, position, and color temperature for
each setting. By applying the tips in this guide, you’ll
be able to maximize your ring light’s potential,
capturing photos and videos with professional-level lighting. Whether you’re shooting indoors, outdoors, creating social media content, or
experimenting with aesthetics, a ring light is a versatile tool that can
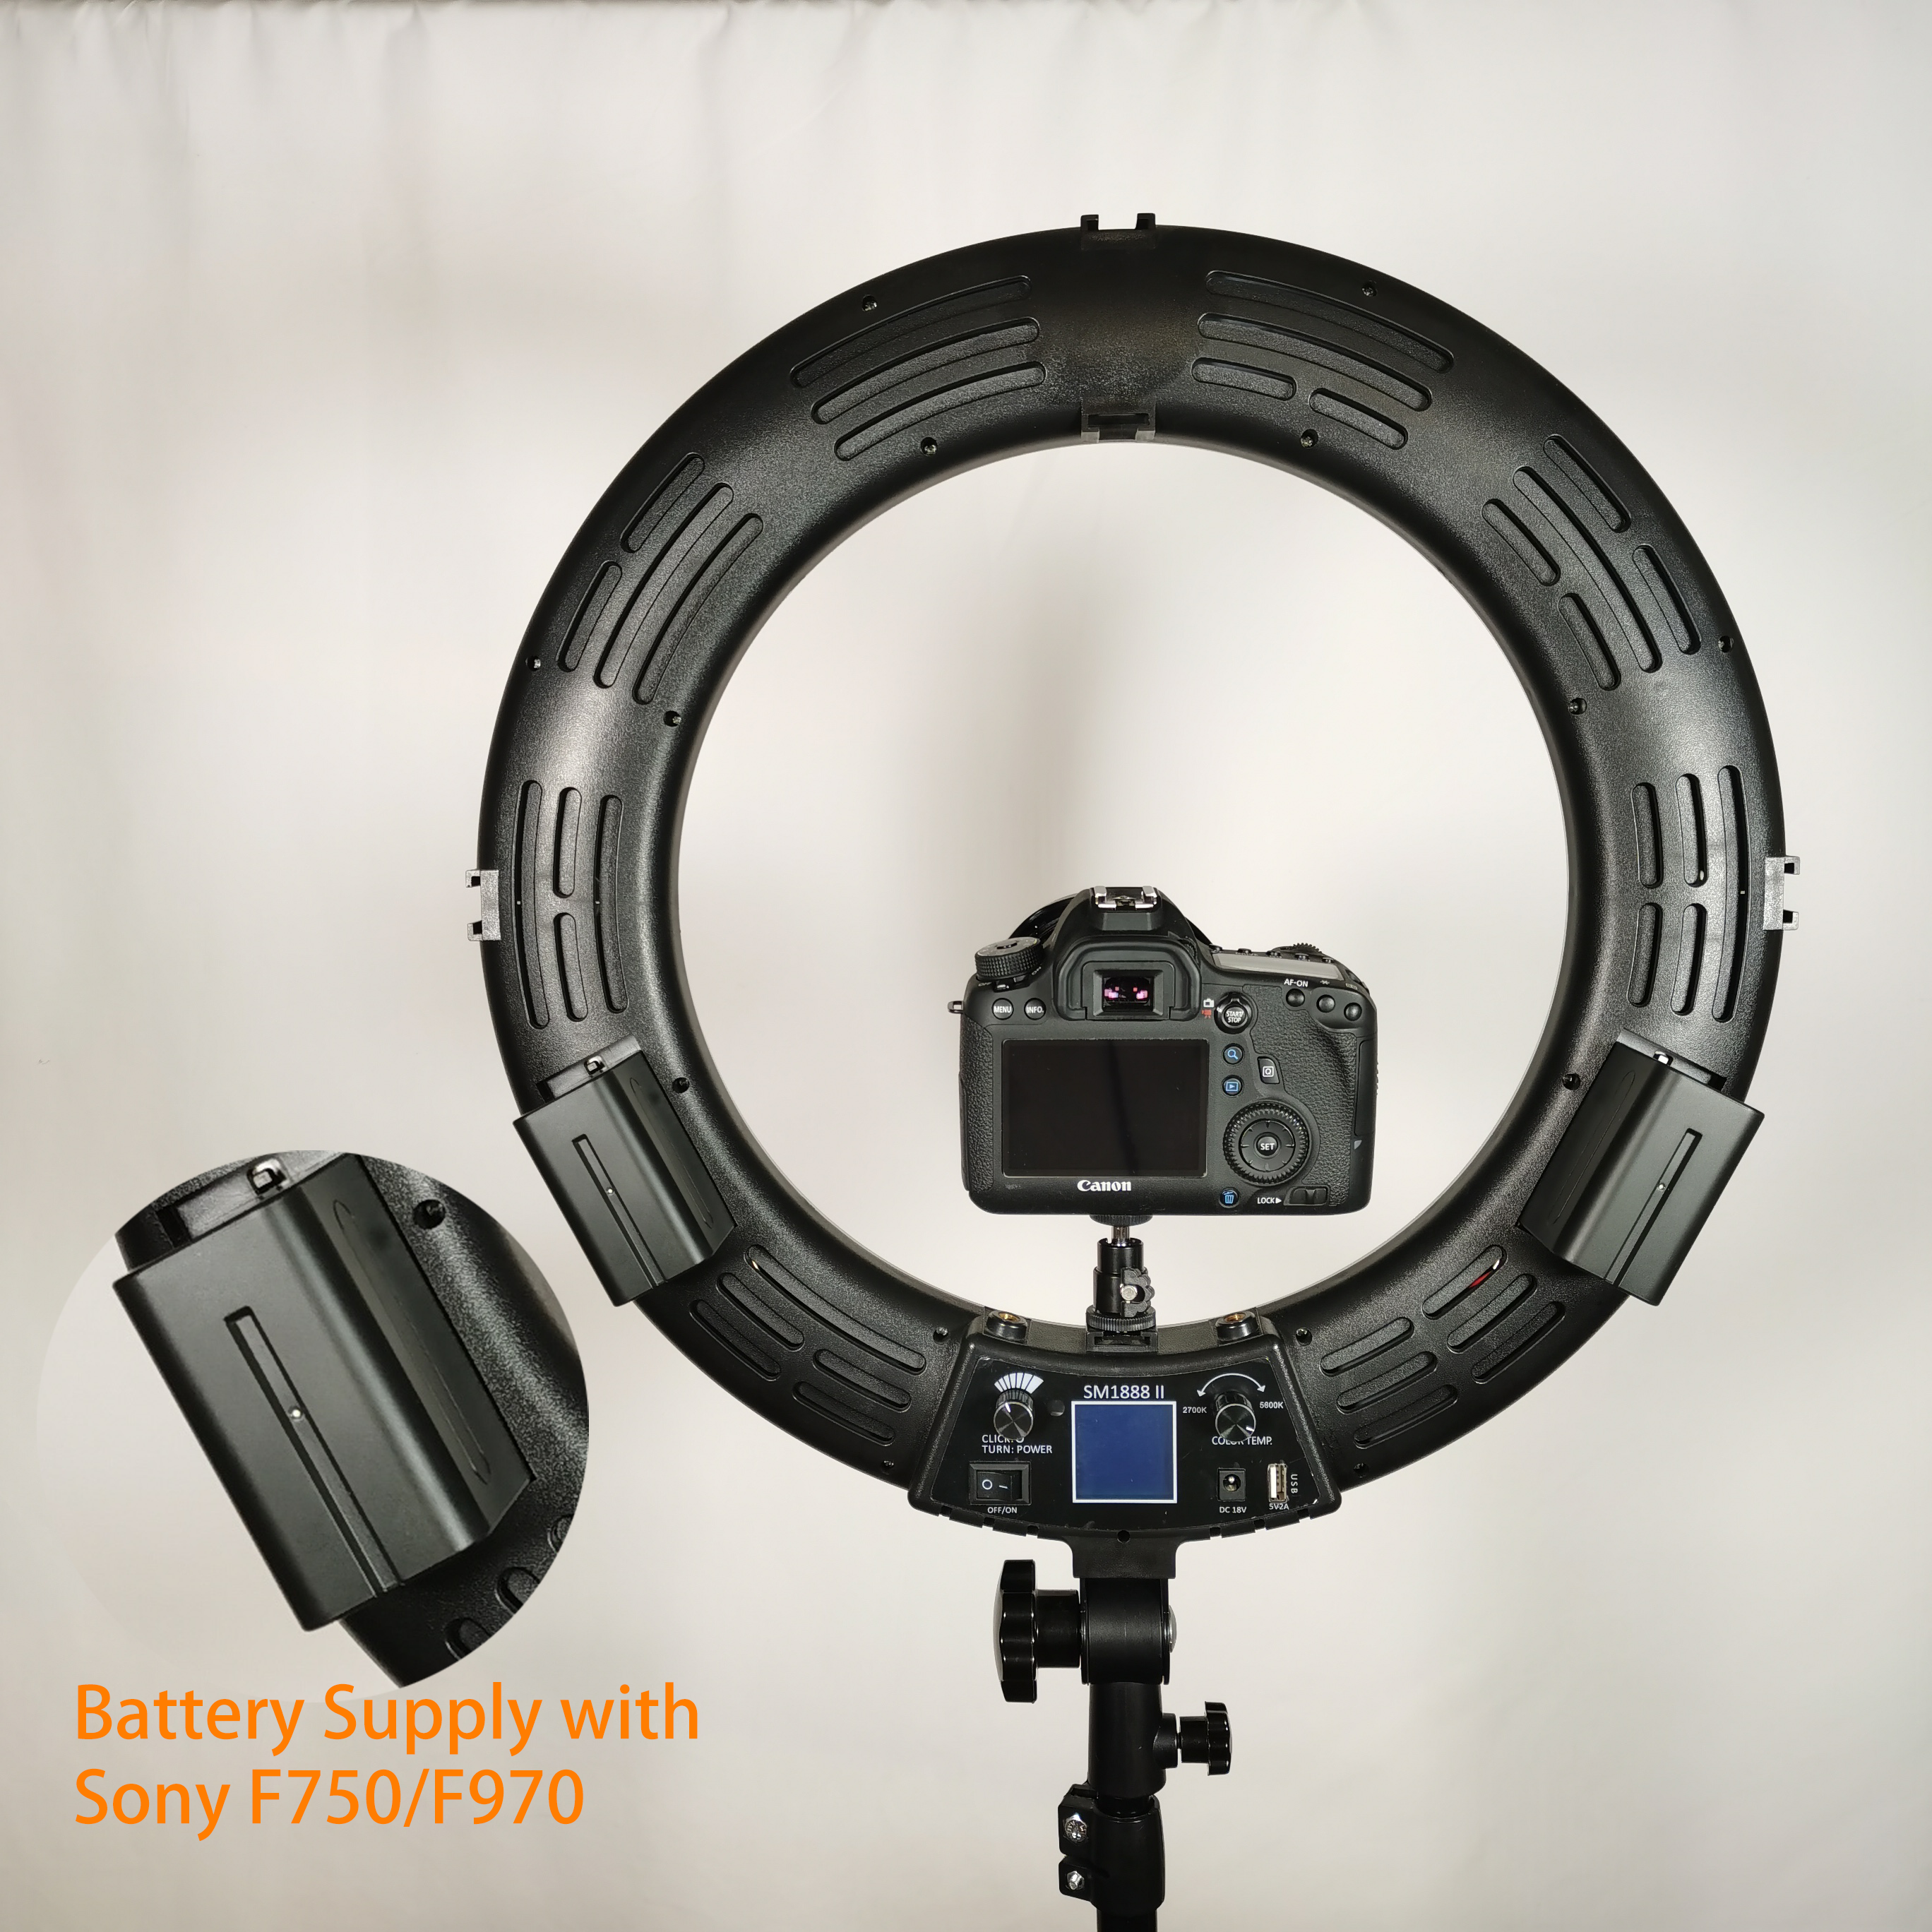
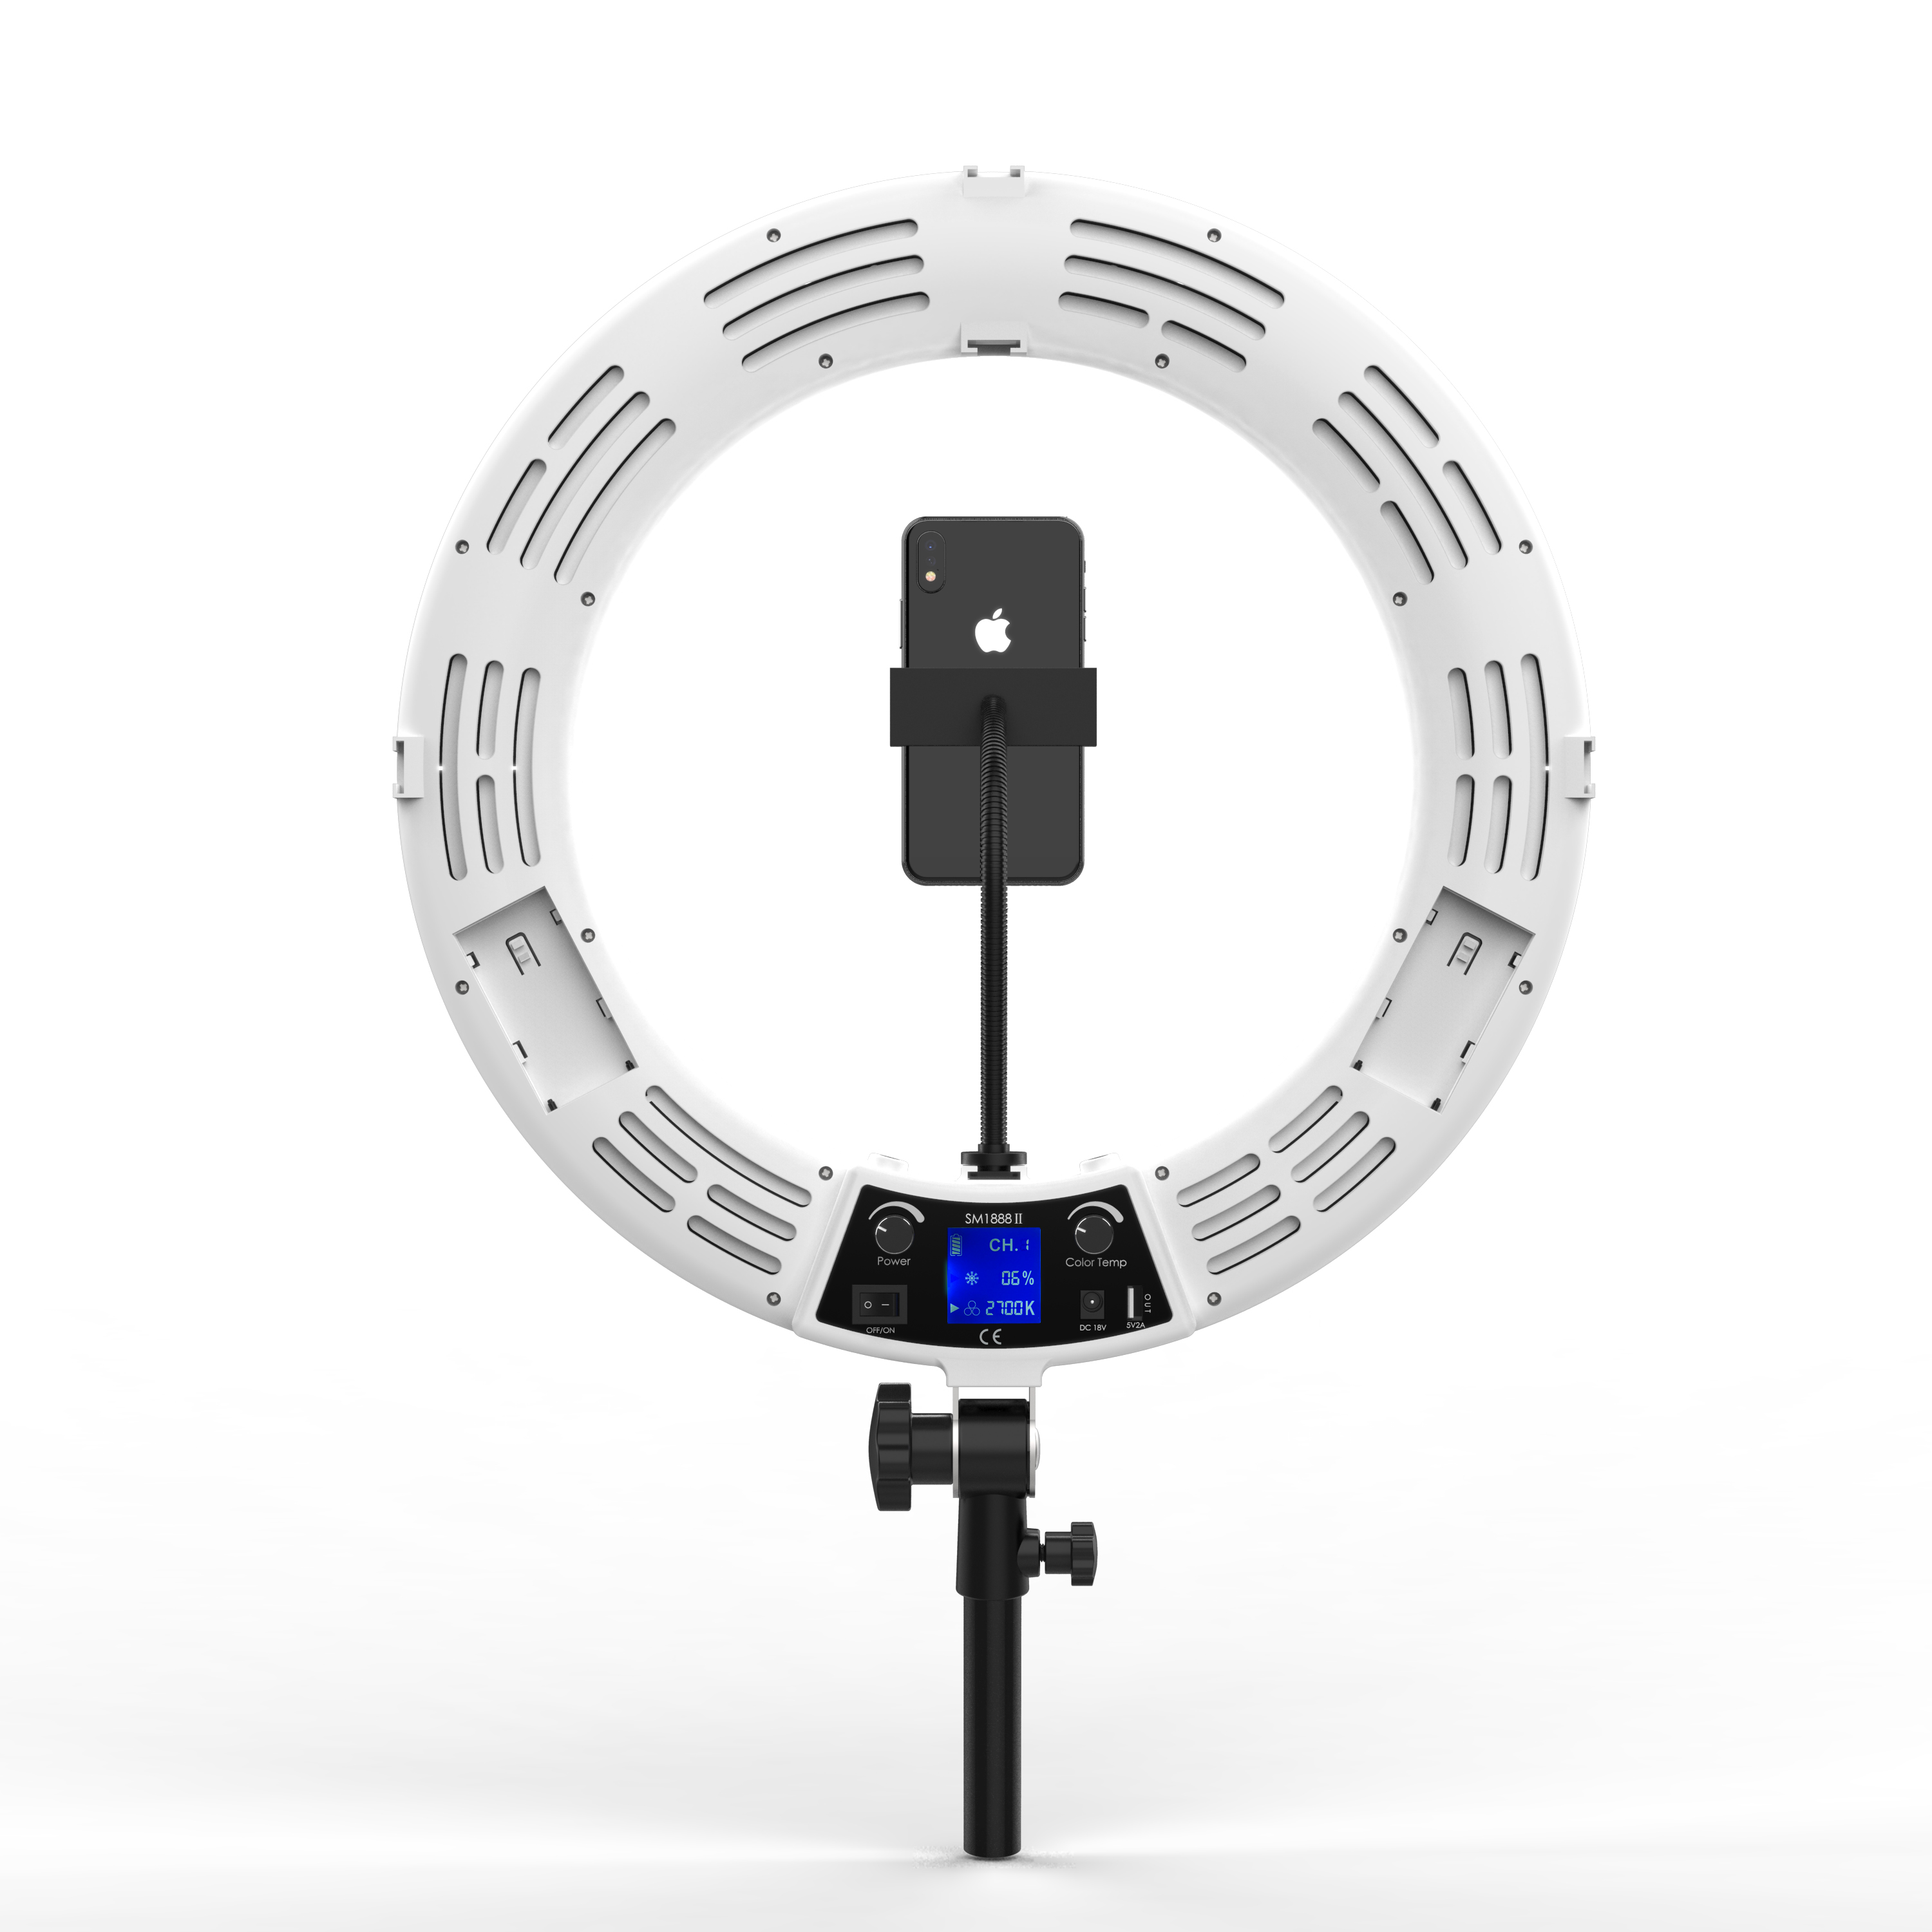
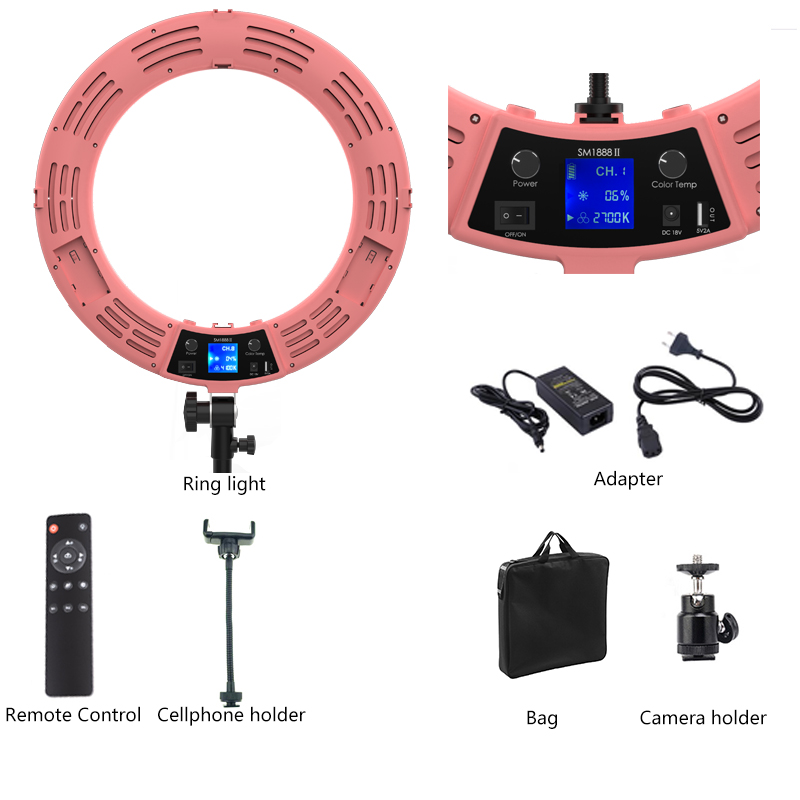
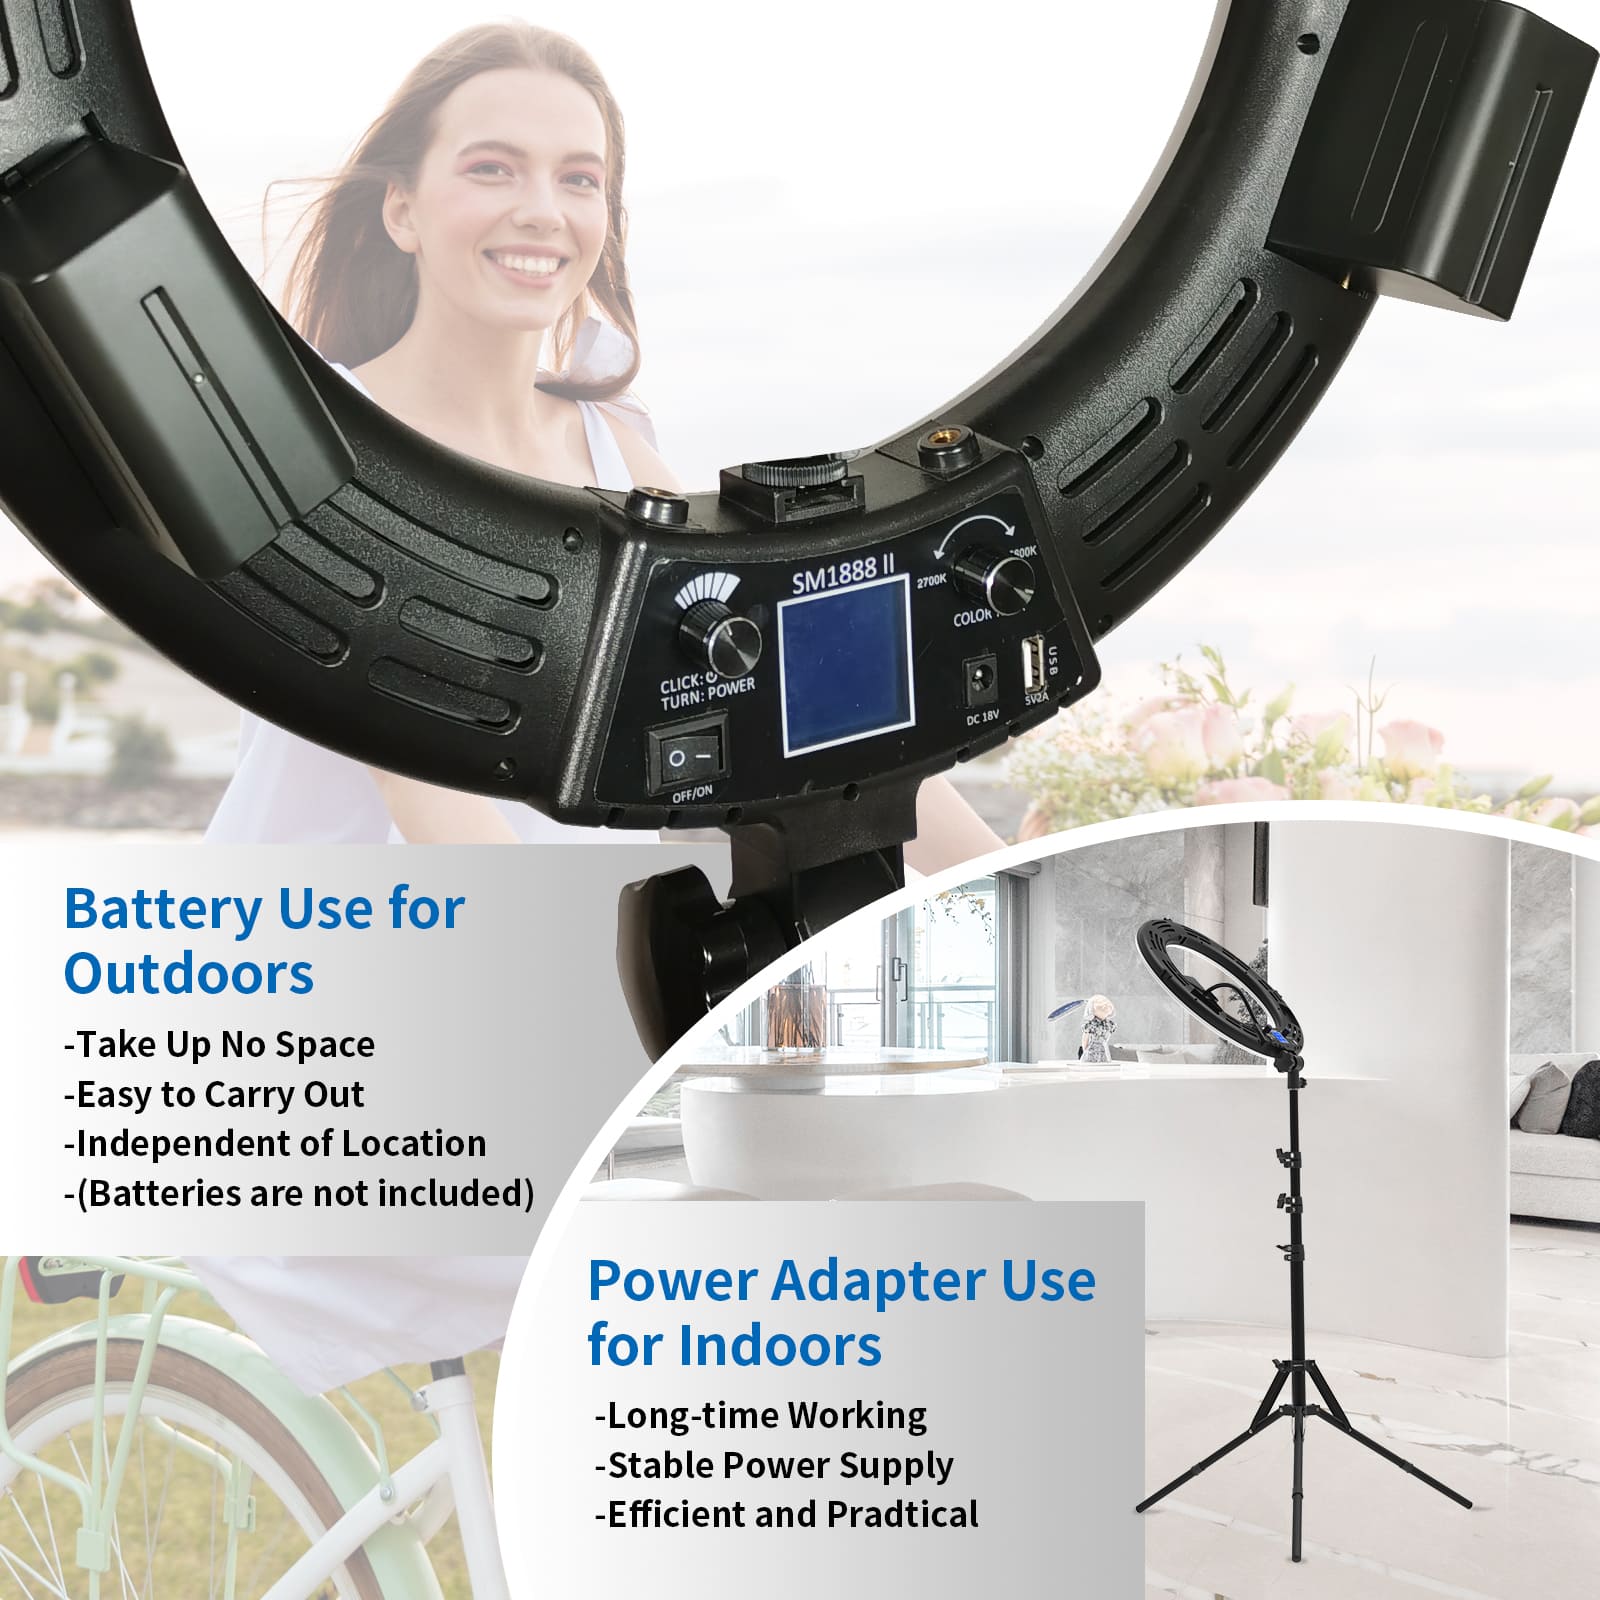
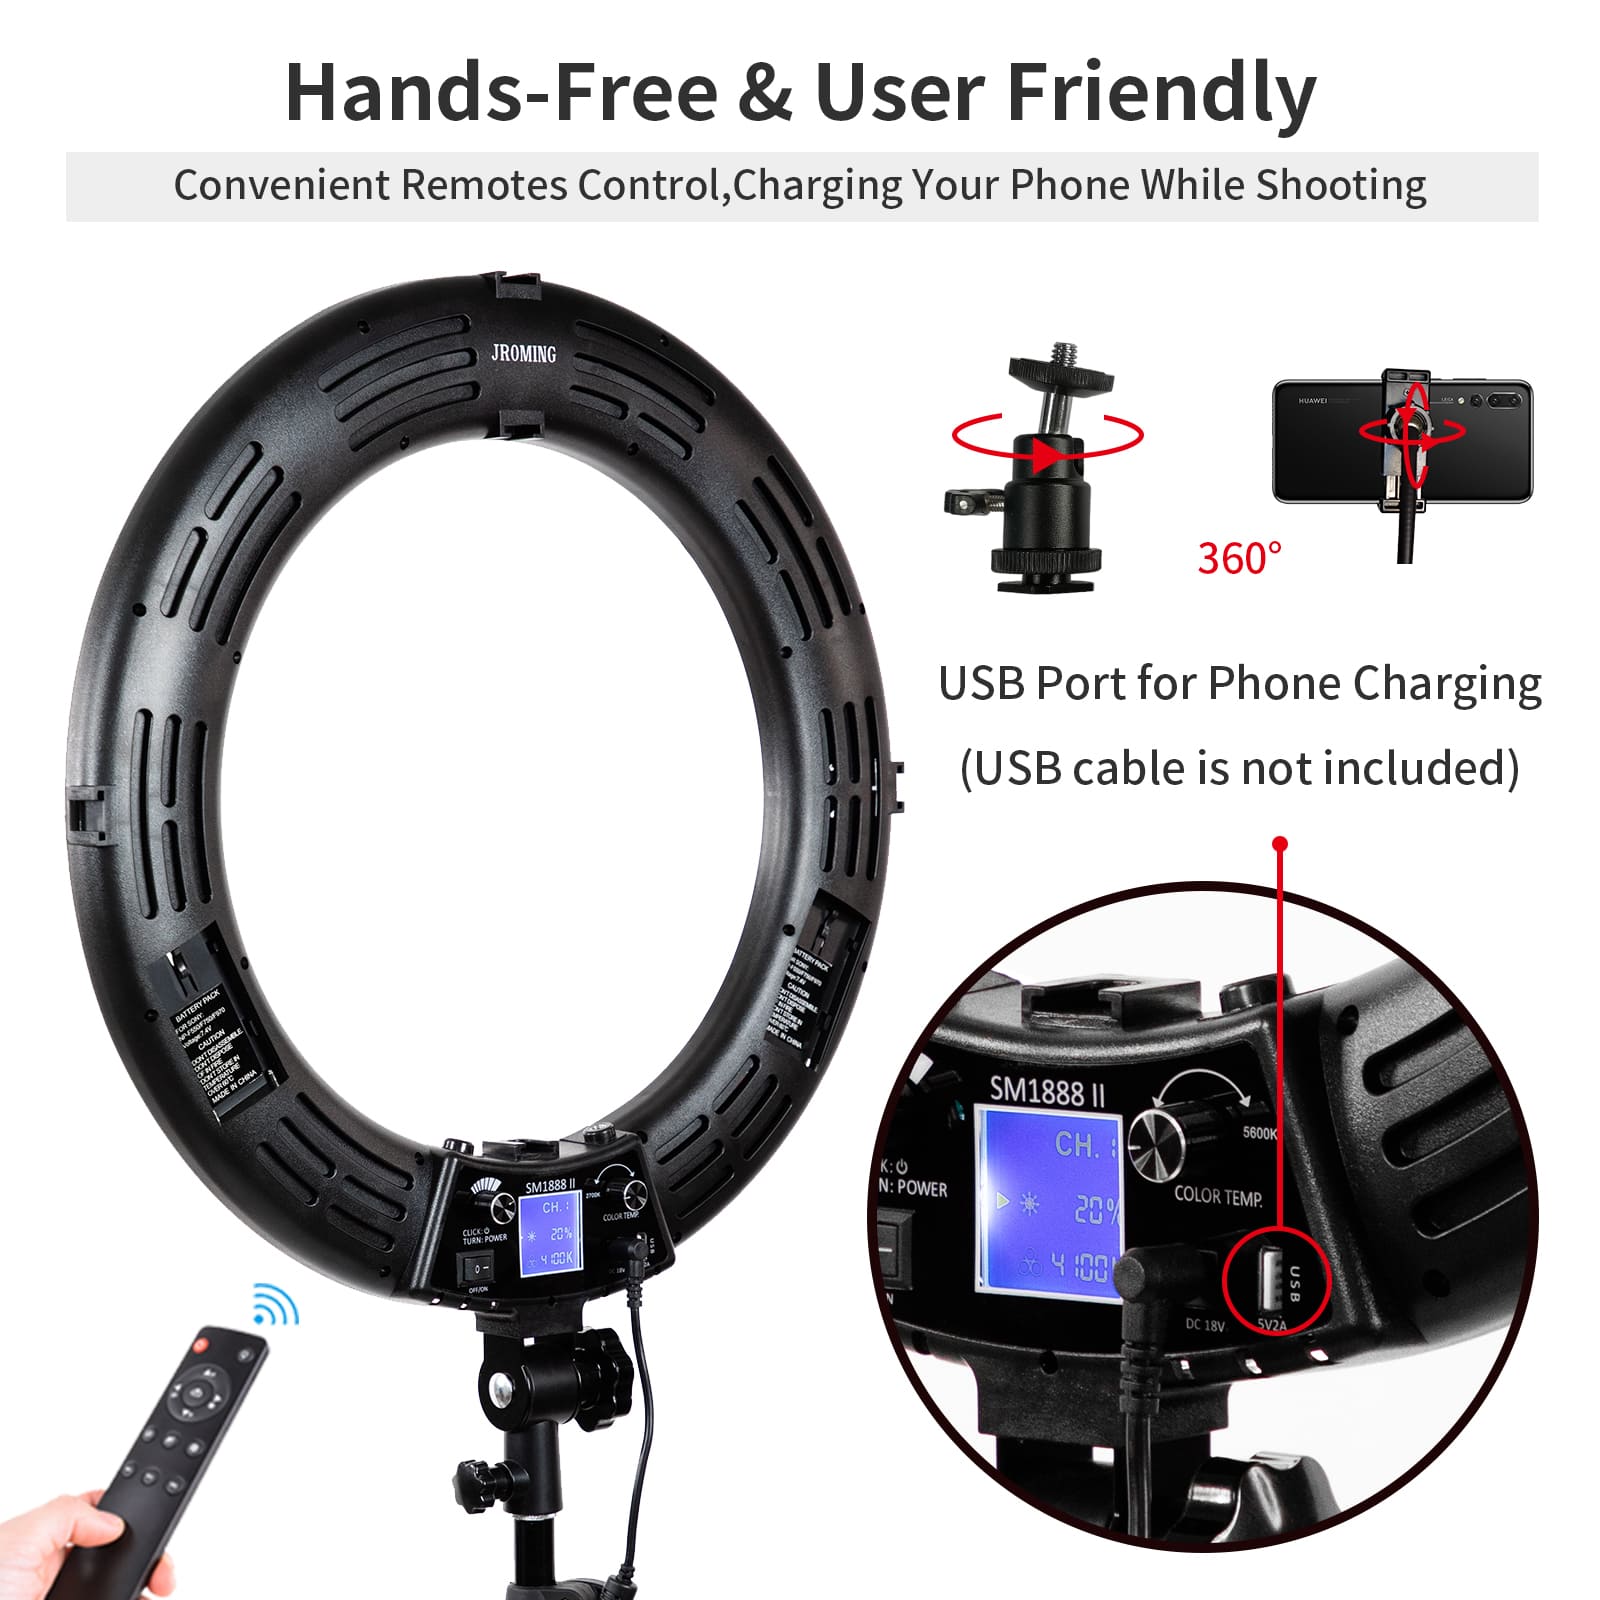
elevate your content quality. And I suggest the Seming 1888 II 18 Inch Ring Light
for my first choice. As a pro ring light, it has Ra>95 CRI, and super bright
with 480 pcs LED. Also adjustable btightness and color tempereture, or a
wireless contor. With the battery supply mode, you coluld use it even outdoor!
As you continue experimenting with
different techniques, you’ll discover what settings
work best for you. With the right approach, your selfie ring light will become
an essential tool for creating beautiful, well-lit photos and videos every
time.


